
10 Tips for Taking Better iPhone Pictures
We all know that photography is a profession that requires skill and patience. But when you’re just an amateur photographer with your iPhone, there’s no need to invest so much time into getting better at it – you can learn how to take professional-looking photos right now! People who do it for a living take years to perfect their art, and in the meantime, they try to find ways to improve their work by experimenting with different techniques.
Via Pexels
Choose An Appropriate Scene
Choosing the right scene for your picture will make a big difference. If you are taking shots at sunset, it is best to be outside without obstructions between yourself and the sun. But if you take pictures indoors, choose somewhere where there aren’t any windows which might cause glare on your photo or distract from the subject of your image.
Take Pictures of Your Subject at the Proper Distance
Proper distance is key to taking good iPhone pictures. If you are taking a picture of your child, for example, get down on their level so that they are looking up toward the camera instead of having their face cut off by the top of it. Are they taking group photos? Get everyone in the frame and then step back until everyone fits, instead of trying to cram them all into one shot.
Turn Off Your Flash
In a recent article from Forbes, they reported that the flash on your iPhone is not as good as you might think. The flash can cast harsh shadows and make things look washed out. Instead of using this feature, try turning it off to get better-quality pictures. Don’t forget about lighting when taking photographs, either! It’s essential to always take photos in an area with good lighting.
Use Your Fingers
When trying to get a picture of yourself or others, make sure you use your fingers when taking the photo. Why? When using the volume buttons on the side of your phone, it will shake, which can cause blurry images. If you use your fingers, you can press down on the screen, which will help eliminate any blurriness.
Rule Of Thirds
This is an old photography rule that applies to all types of pictures. To use it, divide your iPhone screen into thirds and place essential elements on one of these lines or where they intersect.
This technique works for both landscape and portrait photos. For example, if you’re taking a picture of your friend sitting in front of a lake, the horizon should be along with one of those lines and your friend at another.
Bad Lighting
The iPhone flash is excellent for adding extra light when you’re in a dark place or taking selfies, but it will make most photos look unnatural and flat – like someone has sprayed them with white paint. If possible, try to avoid using the flash and instead try to take pictures in natural light.
The best times to get great lightings are early morning or late evening – when the sun is low on the horizon. This time of day will give you a nice, warm glow without too much glare.
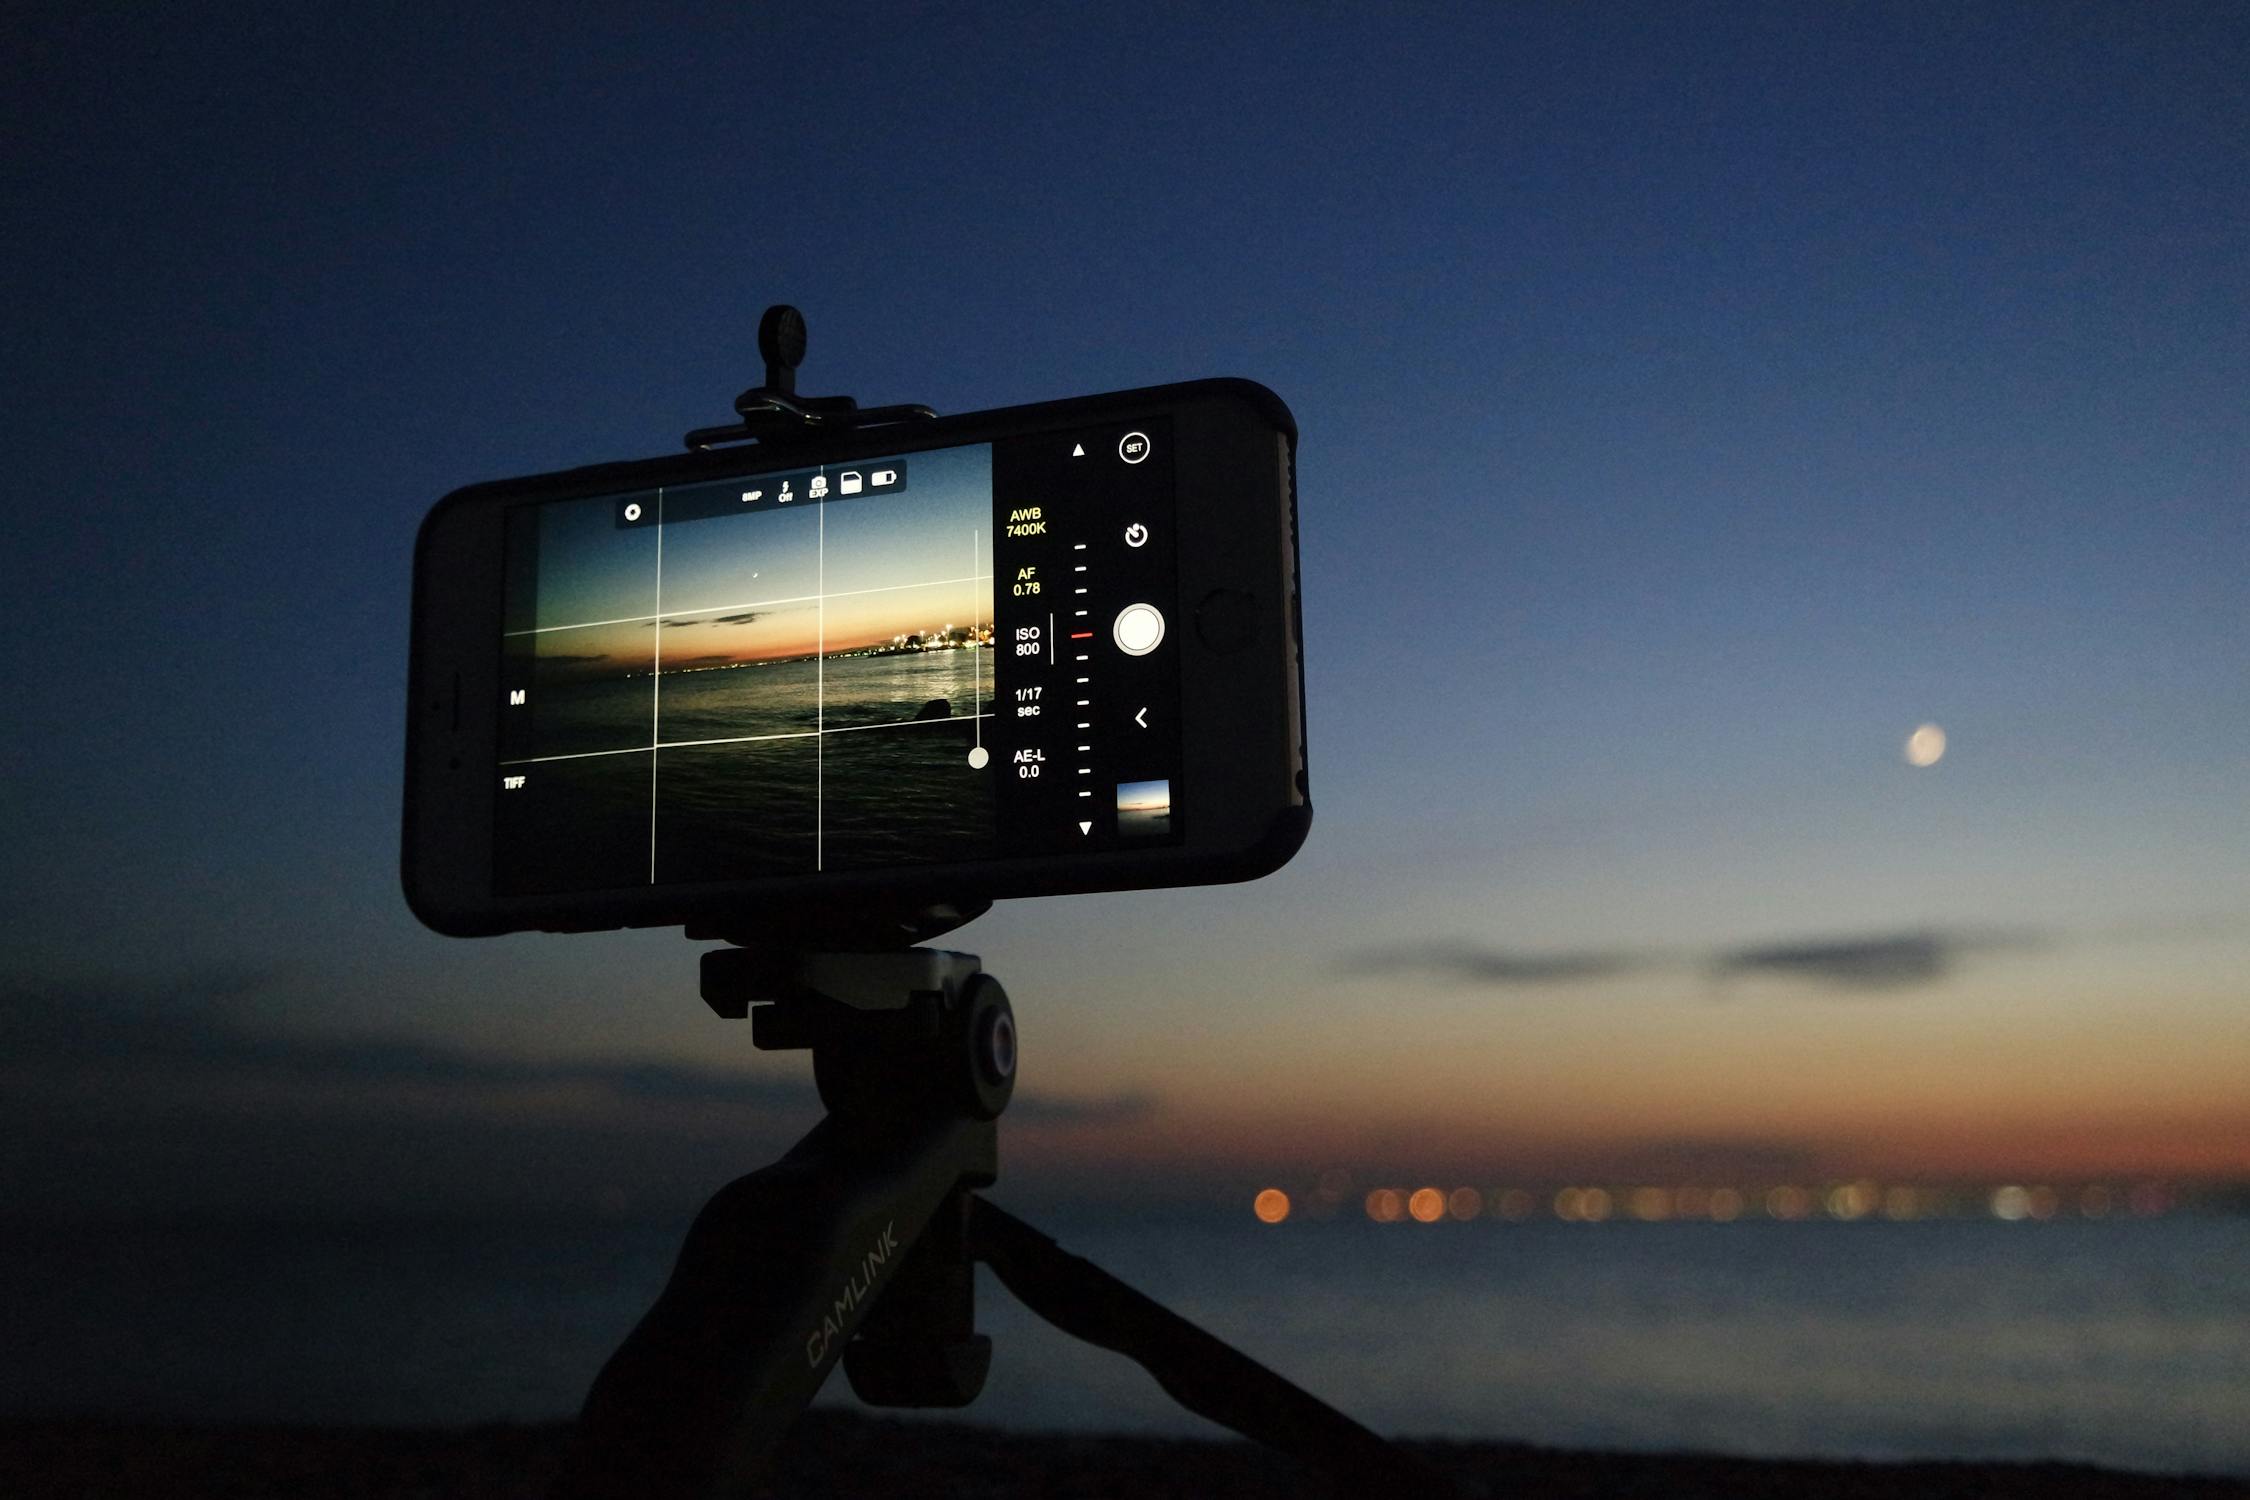
Bring a Tripod
Get a tripod or phone mount for getting steady pictures. If you do not have access to either of these, hold onto something sturdy and try leaning against it so that everything is still focused when snapping the picture. This will help you take much better photos than having your hand be the only support for your iPhone when taking a photo.
Take Advantage of Natural Light
When taking a picture outside, make sure that the subject is facing the sun. This way, your photo will not be dark, and you can see everything in detail without shadows covering up things like facial features or other necessary information for viewing purposes.
Get Creative With Your Angles
When taking pictures with your iPhone, it’s easy to get stuck in a rut and take all of the same photos that you see other people posting on social media. However, this is not how photo editing apps were meant to be used! It would help if you used them for their intended purpose: making great images even better than they were in the first place. One way that you can do this is to try out different angles and locations from which to take a photo, rather than just sticking with what’s easy.
Edit Your Pics
Even better, many of these apps have additional tools for editing images beyond color filters or brightness controls. You may want to consider adding things like borders or vignettes.
Putting in some extra effort into editing can go a long way toward making your photos look amazing, no matter how good the original picture was.
You can learn how to make photos look vintage, modern, or even colorful with applications available on the Appstore.
Putting in some extra effort into editing can go a long way toward making your photos look amazing, no matter how good the original picture was.
In conclusion, taking great pictures with your iPhone is easy. With the right app, you can quickly edit and share photos wherever you are. You don’t have to be a professional photographer or even own an expensive DSLR camera to take beautiful shots on vacation or your next family outing.
DISCLAIMER: This post is a collaborative post and may contain affiliate links. Please read my Disclosure and Disclaimer for more information.
Content Creator from Boston.
I’m here to help you with style tips and options, finding the best deals, and helping you to feel confident & comfortable in your own skin with whatever you choose to wear.
